Email Marketing Tool
Description
Email Marketing Tool allows to create, schedule and manage email campaigns, allowing for everything between a simple one time email to complex drip campaigns. Tied to the Analytics Package it can provide new insights via deep tracking of users, building out their funnels from email campaign and inside the game. Tied to the Audiences solution it allows to create segmented campaign that speak directly to the users with the highest potential to convert.
Setup
As a first setup step you need to provide our team a subdomain you want to be registered for your organization. While you can use multiple emails to send emails, all of them must be placed in the same domain.
After this it is required to add DNS records to hosting provider.
Once this is done and the access on Helika Portal is granted the Email Marketing Tool is ready for use.
Functionality
Create Campaigns
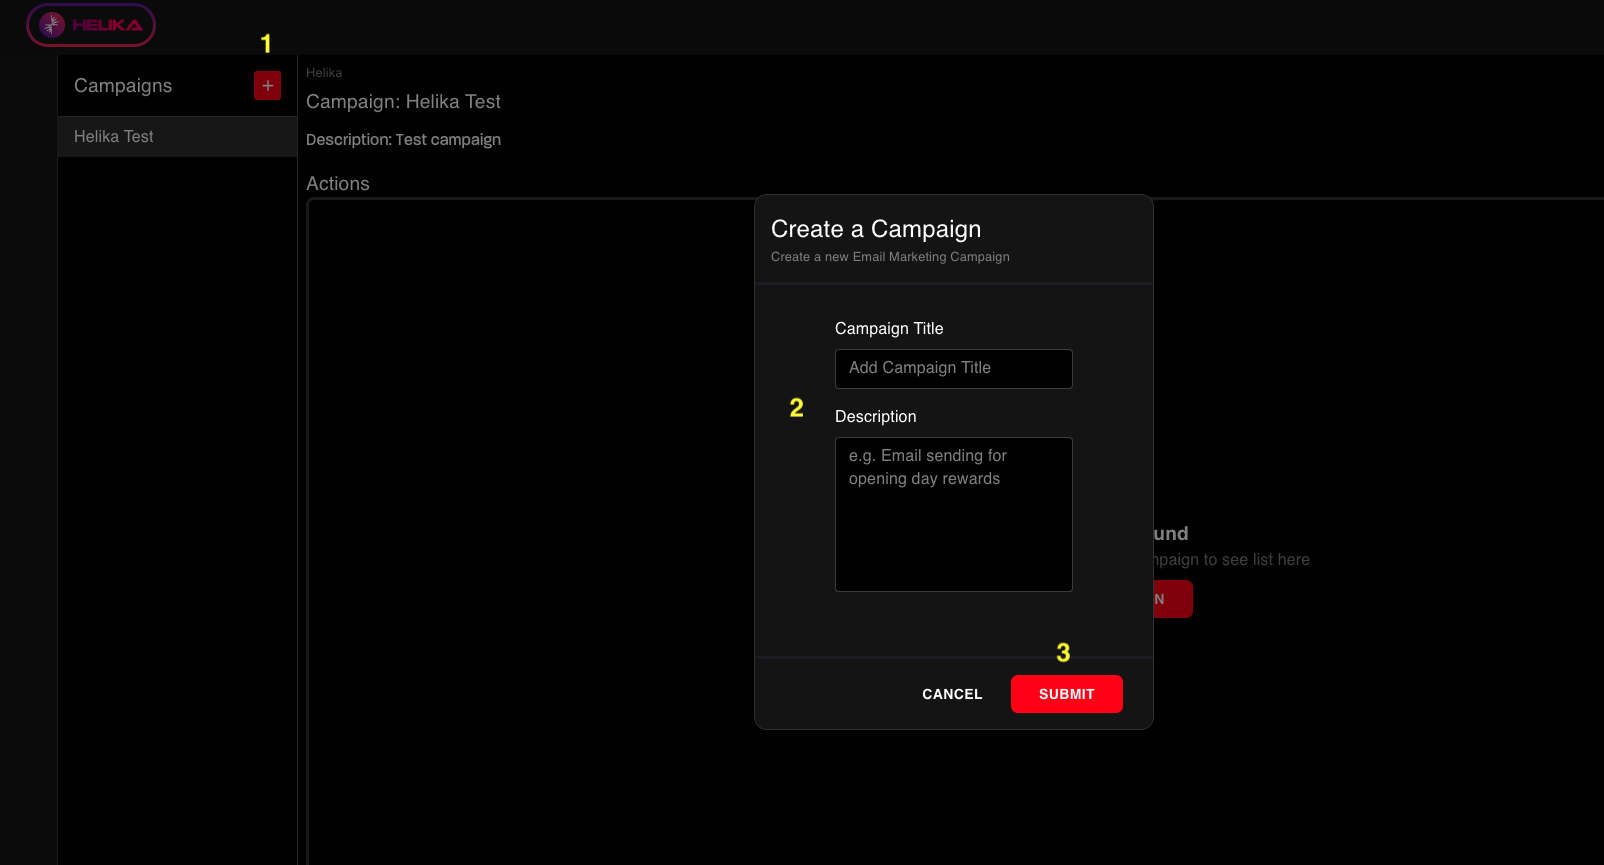
Campaign is a folder of separate email templates that are grouped together. To create a campaign click the "+" button in the left right corner and fill out the form:
Create Emails
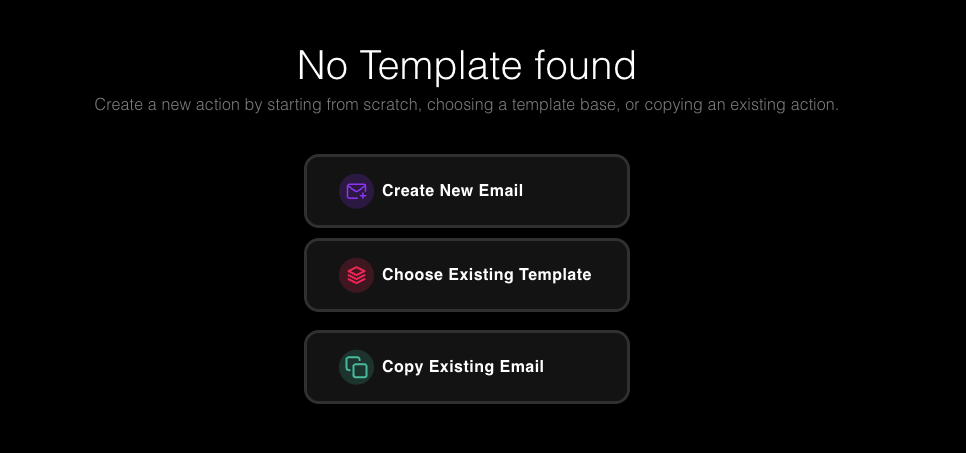
Once the campaign is created you can create a customized email template by clicking on the "Create Action" button. This will open a screen with 3 options:
Building Templates
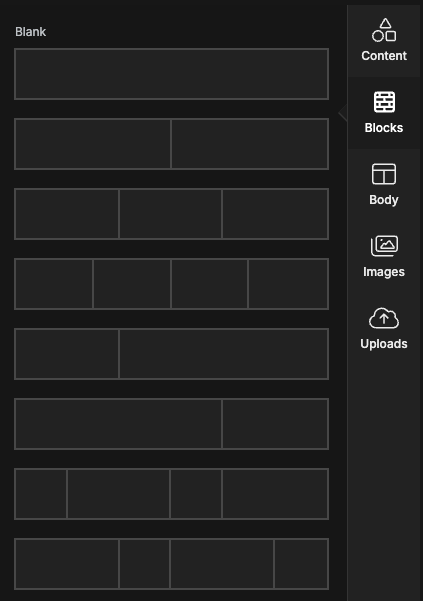
Quick video guide about how to use the template builderCreating a template is similar to building with blocks.
-
We create a block that allows us to define number of section and their size:
-
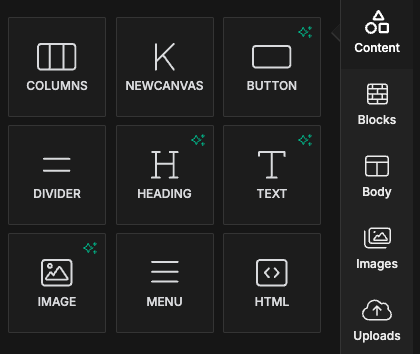
We add the type of content we want to place in each of the sections:
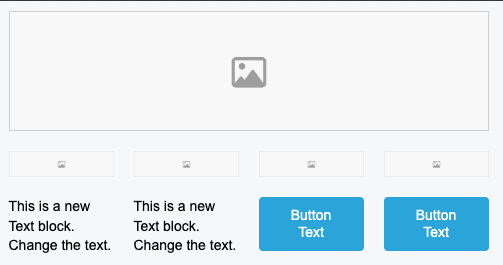
-
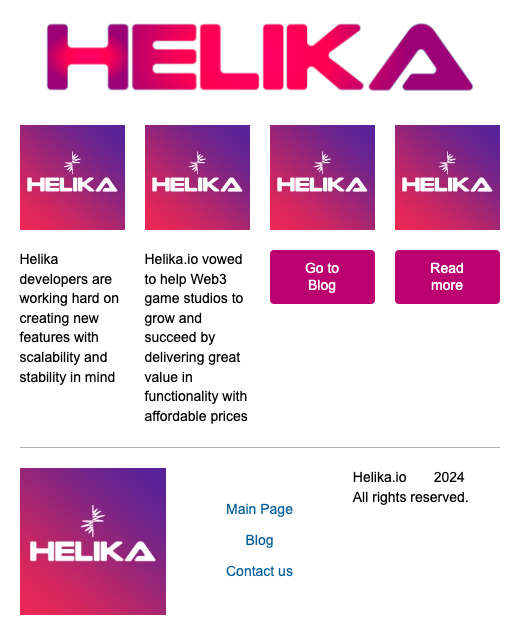
Once the content types are filled we can click on each of them to specify the content - change text, font, color, upload image, set action on the buttons etc
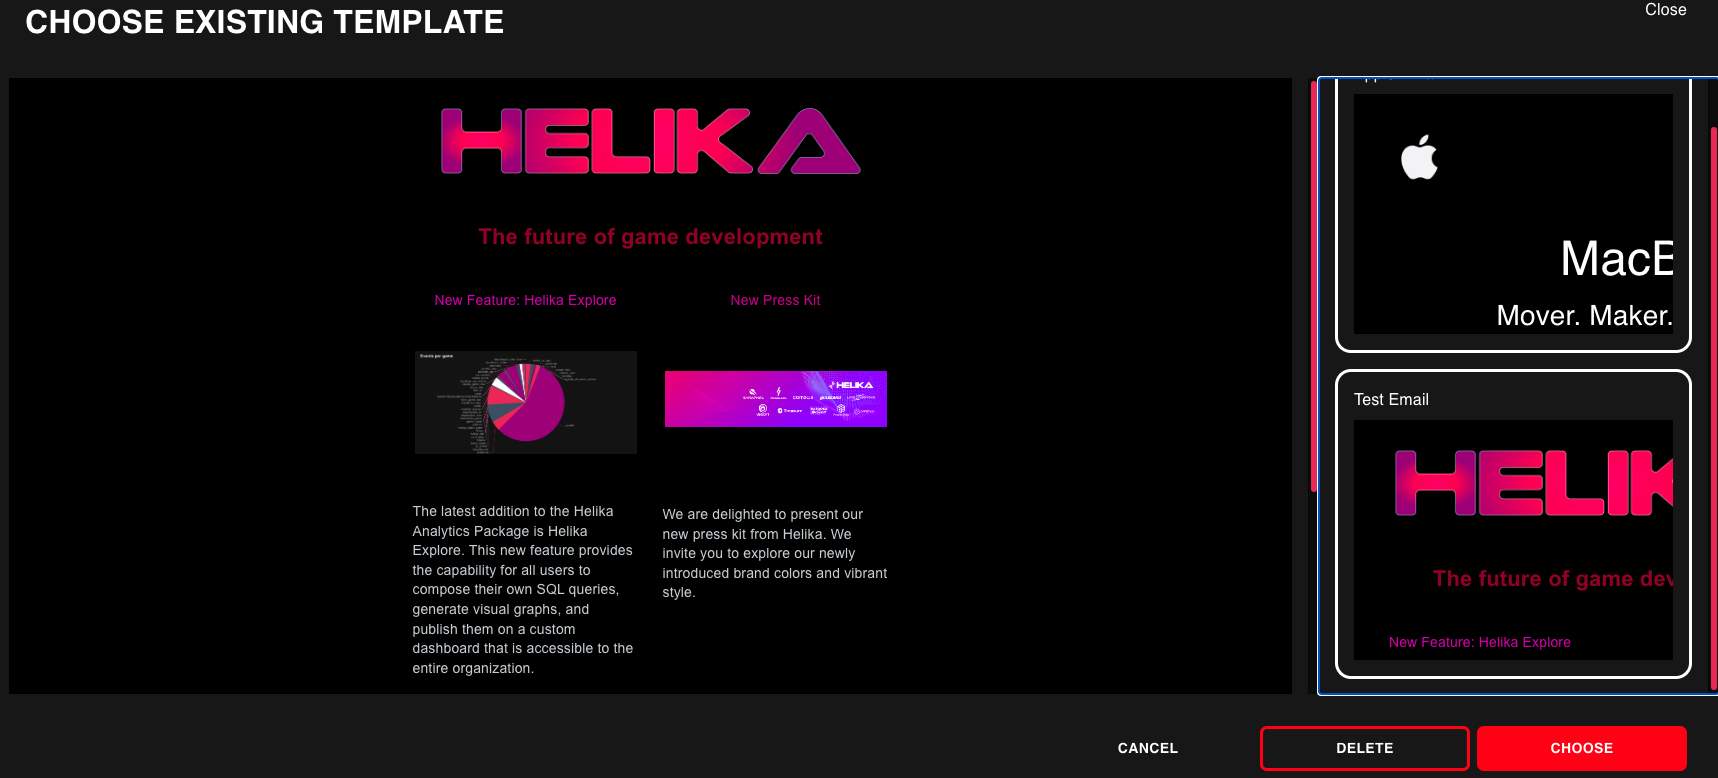
Using Templates
If the template has been created earlier then the process of creating a new email is even simpler - click on the "Choose Existing Template" option and go view the template library
Email Setup
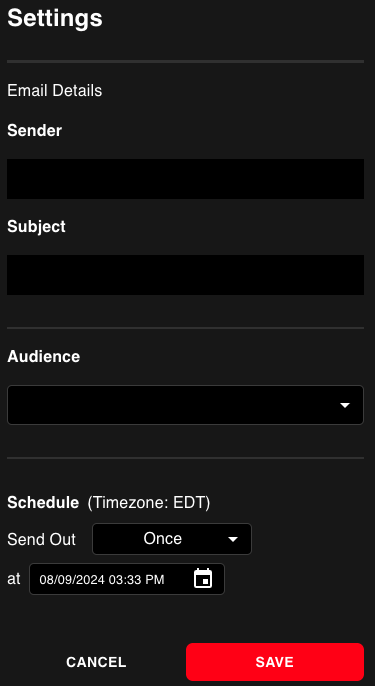
Once you are happy with the content in the template - click "Continue" and proceed to the Email setting, where you can specify:
- Sender - the email that will appear in the recipients inbox. All senders must belong to the same domain (e.g. [email protected], [email protected], [email protected] etc)
- Subject - will appear in the recipients inbox
- Audience - a segment of users that who is supposed to receive this email. To add an audience to the dropdown list please reach out to our analytics team.
- Schedule - define when and how often (once, daily, weekly, monthly) the email will be sent
Unsubscribe
In order for us to track unsubscribes, please do the following:
Option 1
-
Go to your Send -> Domain Settings -> Domain Settings tab -> Unsubscribes and set unsubscribes to On (refresh page)
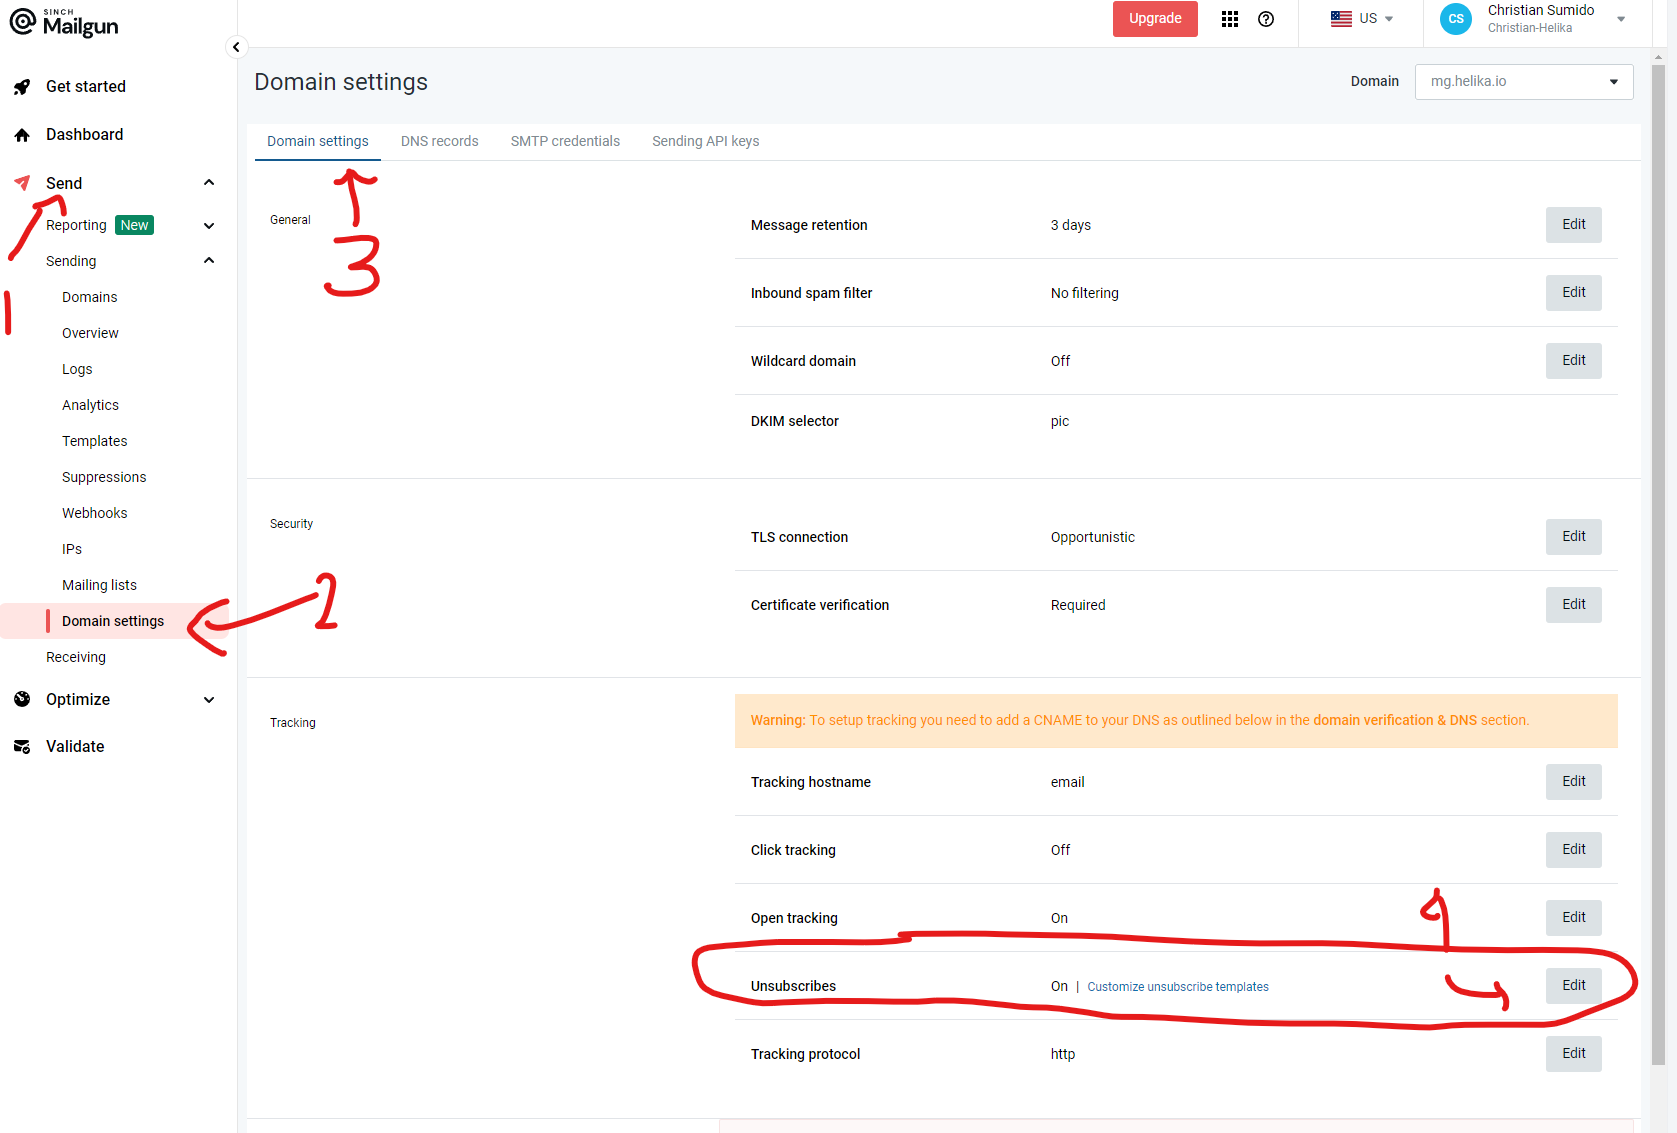
-
Click Customize unsubscribe templates and edit the HTML emails section. This will append the html template to all your emails sent out.
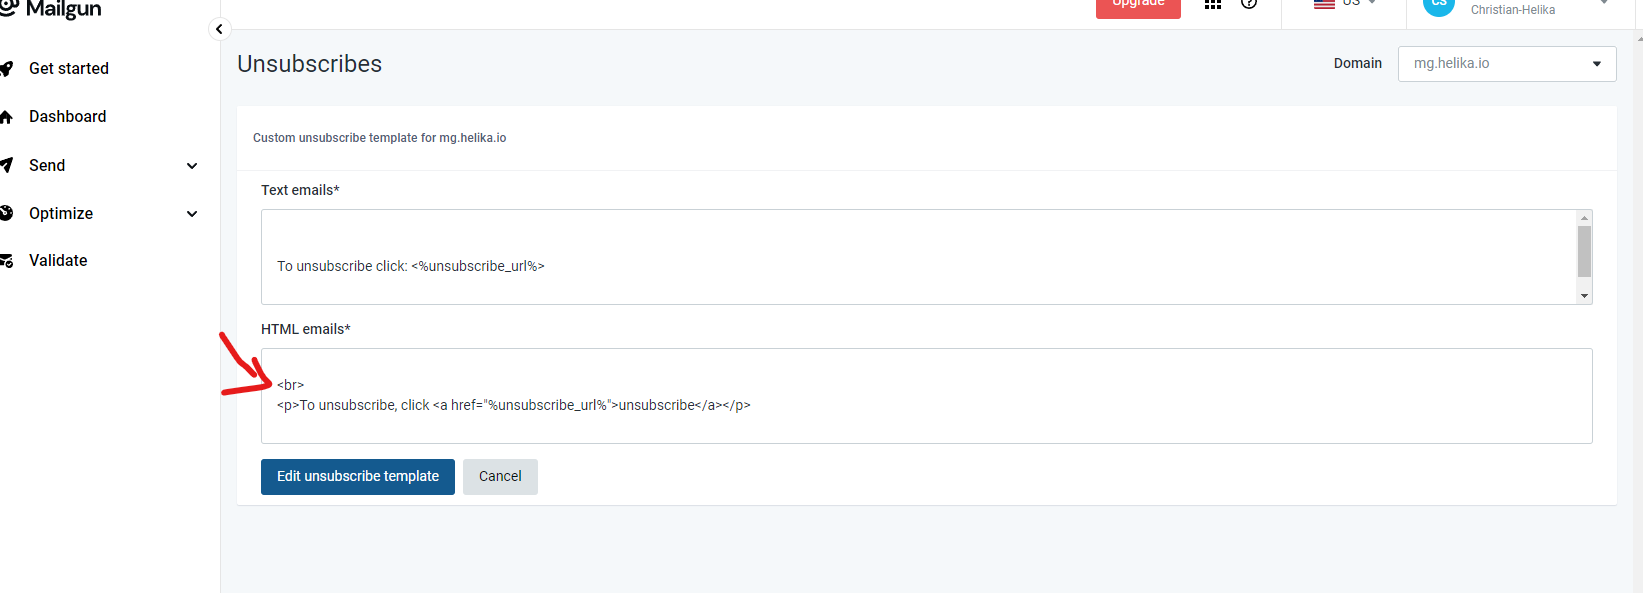
Note:
%unsubscribe_url%is the link the for unsubscribing to your domain.
Option 2
-
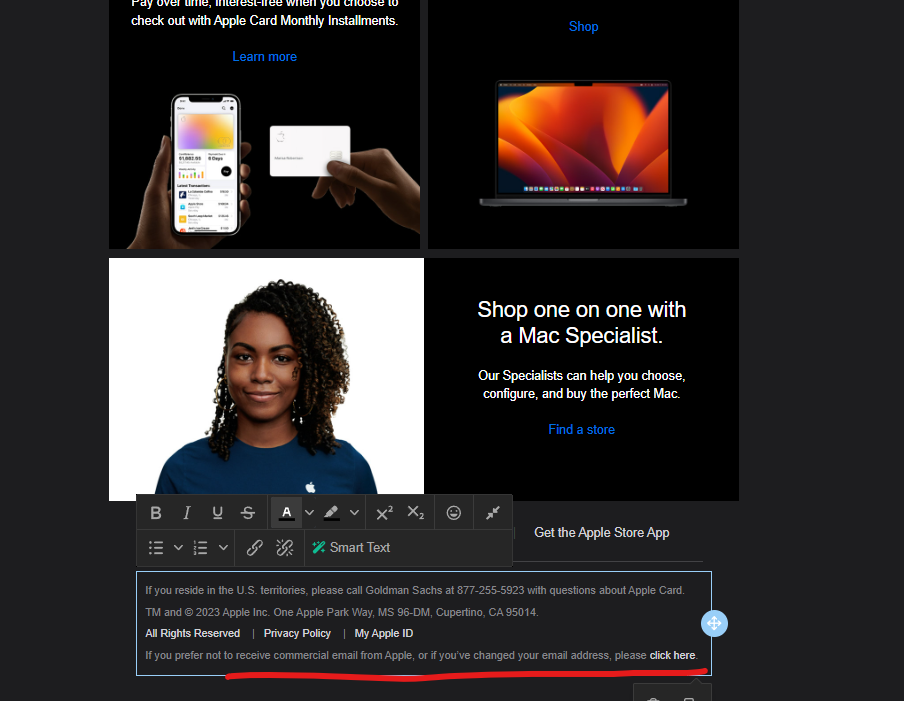
Manually add the 'unsubscribe' line at the bottom of each email template
-
Set the link to
%unsubscribe_url%so that it can redirect users to the unsubscribe page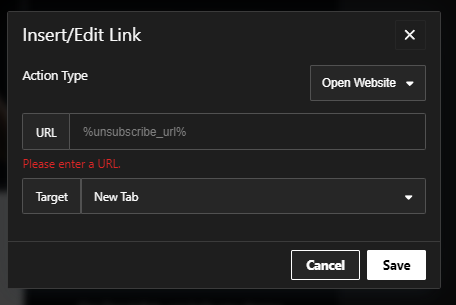
Updated 14 days ago